Lately me damn lazy to build model kit! Only manage to finish snap fit my Code Geass Guren Type II 2 days ago.....but tat one need to paint so just leave it aside and wait till i finish AB my Alty 1/100 first. Now start a new one again this one not going to AB just gonna do some lazy OOB with minimum detailing to cover up the flaw!
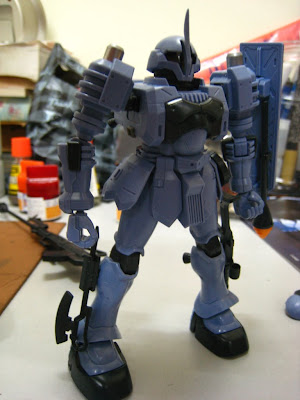
So my current project is Zeon most favorable MS that failed the test stage for Mass Production....the mono eye tat could have change the fate of Zeon (maybe they could won the war faster if they used it). The mono eye that gonna go berserk if overheat.....HGUC Zudah!!!
This model kit color is 90% accurate as the Anime version, and it belongs to those realistic military like color scheme which really suitable for this lazy method I am going to do. Anyway all things need to start from square one, so I am gonna take you ppl on a walkthrough of my Work In Progress (WIP) Zudah.
As usual we need to snap fit the thing first, and during this process we gonna try to make the Zudah as good looking as the AB or fully painted version, the only problem tat make this method difficult is the seam line (the gap between 2 different parts when snapped together). Since you cant used Putty to cover up the seam lines, you are only left with the choices of using plastic cement.
So for the body part, since it is made by 2 parts, you get to see a really big seam line starting from the neck part all the way down to the lower part of the body. So I used the Mr. Hobby Cement to do the job, apply it on 2 parts then press them together! You may also used a rubber pan to strap them together.
After the whole thing dried up, cut off the extra bits of stuff that was formed when you press the 2 parts together. You will notice the seam line has been remove and the whole thing looks like 1 whole part. I personally left back the seam line in the arm part and just remove the seam lines for the outer area.
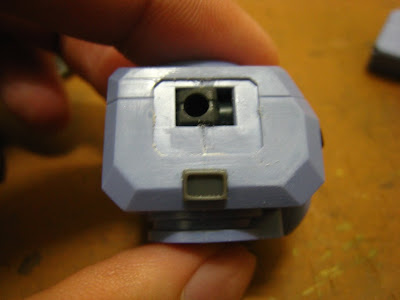
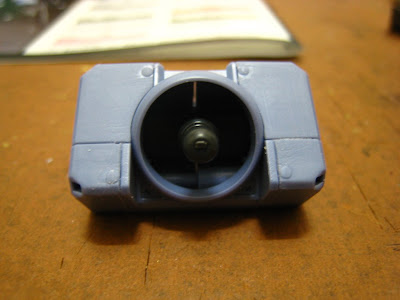
As u can see the part that is deepened in still can see the cement and the seam lines....really disgusting and not to my perfectionist standard so get some extra part from MSG Kotobukiya and glue it on to the hole!
Now it looks much better and also safe me all the difficulty in touching up tat area. Ok continue on to the Jupiter Boaster Backpack.
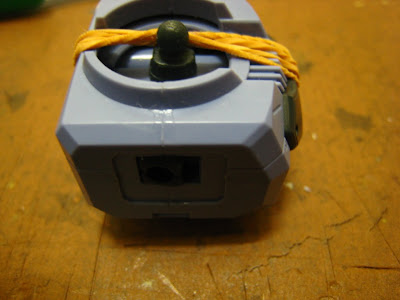
The backpack of Zudah is a combination of 3 parts (excluding the Jupiter Boaster), as we all know when combining 2 parts together there will always be seam line, but seam lines doesnt always need to be remove with Plastic Cement! We can modify it to make it look like a panel line.
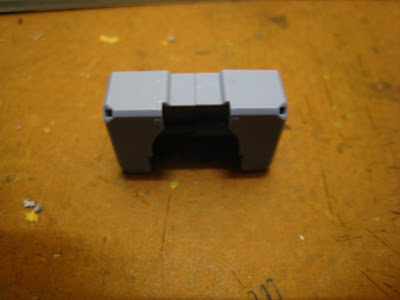
For parts like this there will be a very noticeable seam line.
Sometime we dun need to cover up all seam line with Plastic Cement, we can make used of them and turn them into cool looking panel lines. What I did is I scratch the part where my Hobby knife is pointing (both side of the armor). The end product looks like something below:
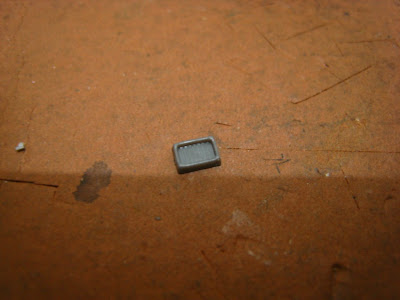
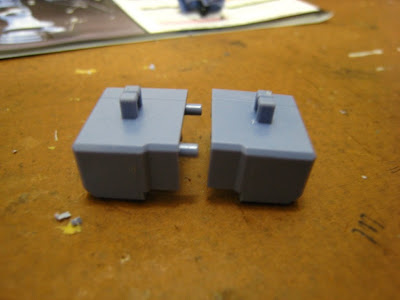
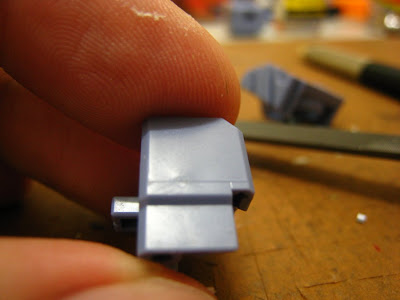
OK beside Seam lines there are also some other lines than really make the armor part look ugly! These lines are form becoz of the mold itself, when 2 molds join together the gap between will form a thin line of the plastic.
To settle this problem u need to sand them with sand paper or scratch it off with your Hobby Knife! The result will be like the following
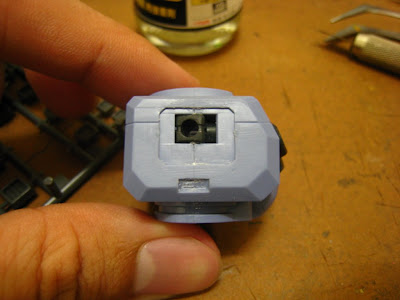
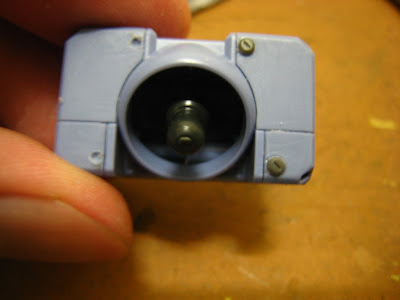
The last thing before I did before I end this post is I drill away the 4 button on the armor and added on some of my own Kotobukiya MSG parts on it! The result definitely is better than the original.
Ok next update will be on my newest haul Figma Mikuru, after that will be on my second WIP on Zudah stay tune!


1 comment:
Hail to Zeon! Nice Zeonic MS model kit.
Post a Comment