Showing posts with label WIP. Show all posts

Wednesday, November 11, 2009

The LOST 5th WIP of Zudah non AB

This is an old old old post frm last year that i did not complete reason is I lost some of my picture due to corruption of my hdd last year. So this part will have some missing link to the final product.


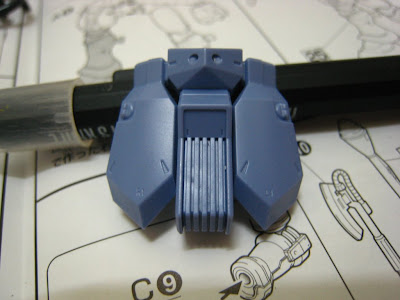
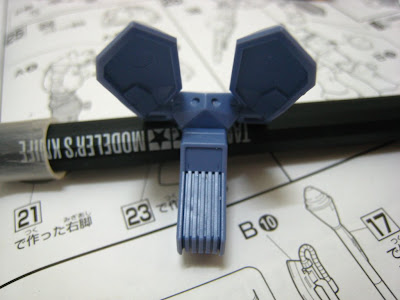
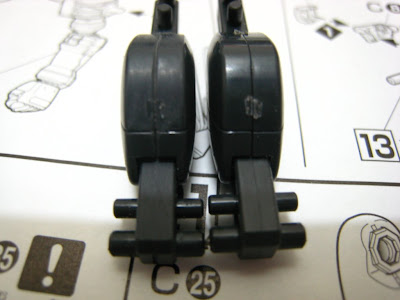
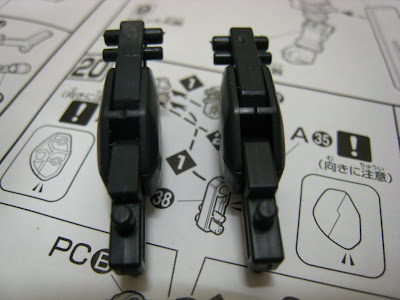
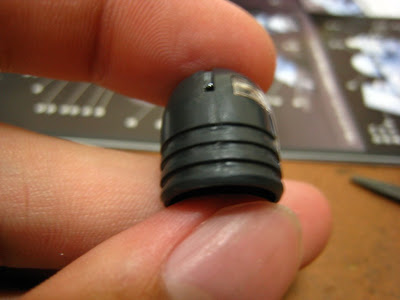
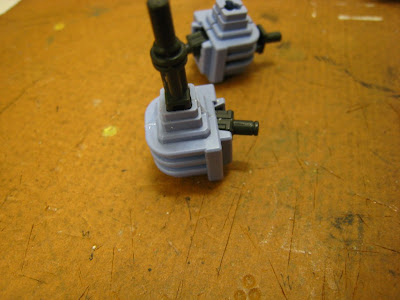
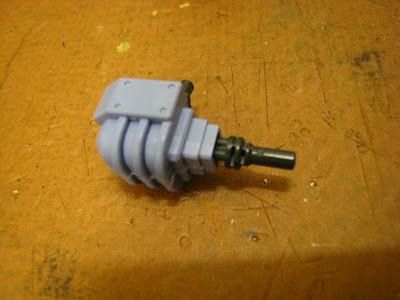
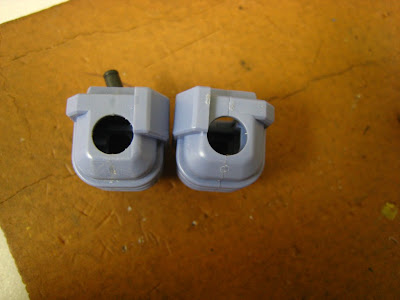
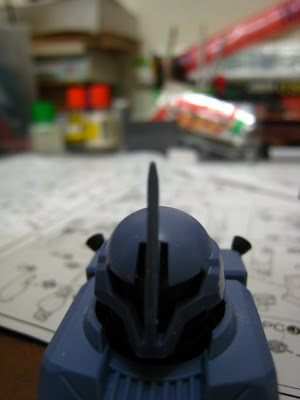
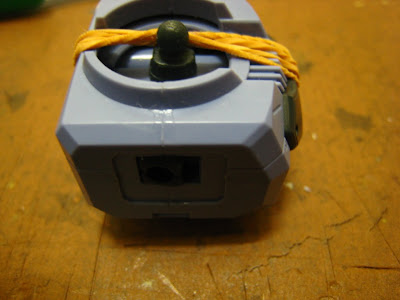
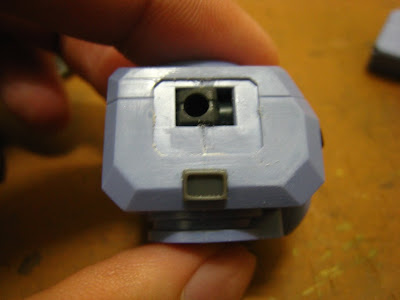
So this is another way to cover the seam lines between 2 different parts, scribe them into panel line.


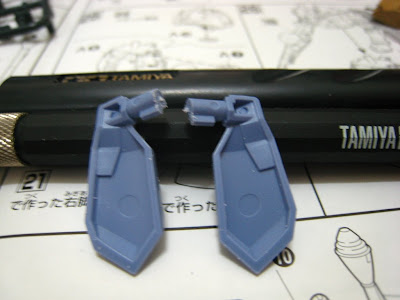
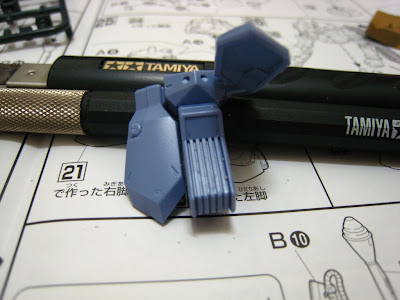
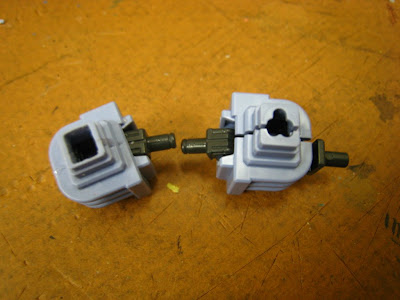
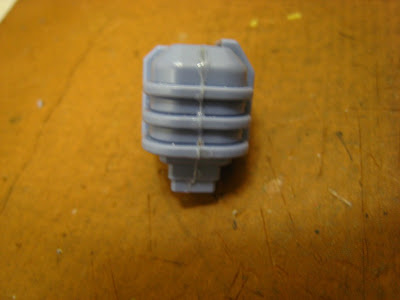
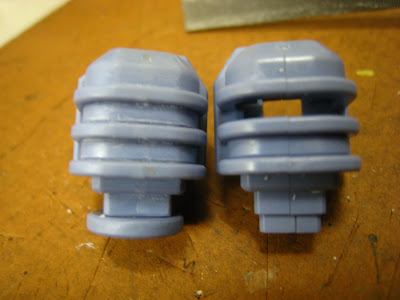
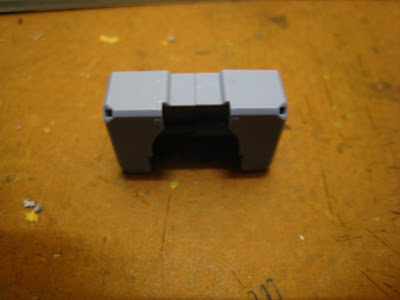
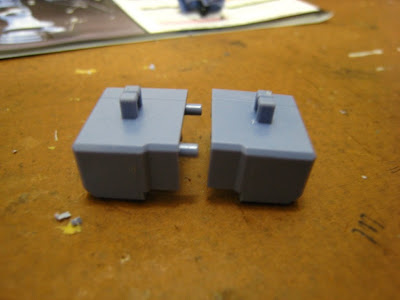
However not all parts of the mecha is suitable, just like the leg part shown below if you make a panel line in between them the MS will look abit awkward. So back to cementing... stick them back together.After they have dried up.... sand them up and you will be able to cover the gap between both parts.


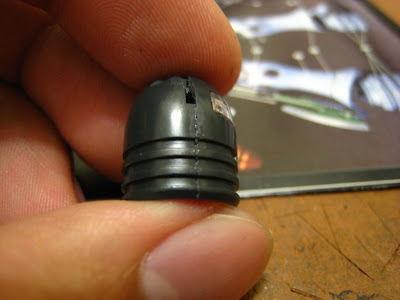
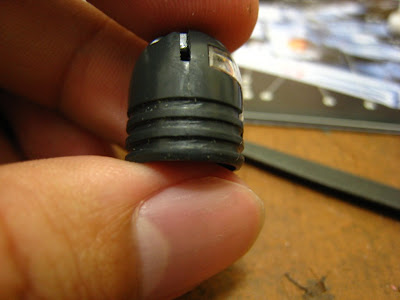
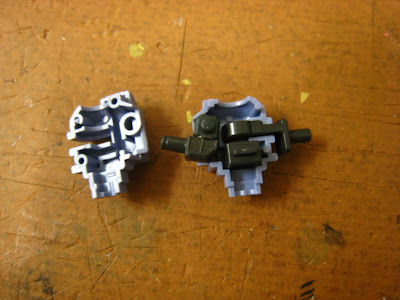
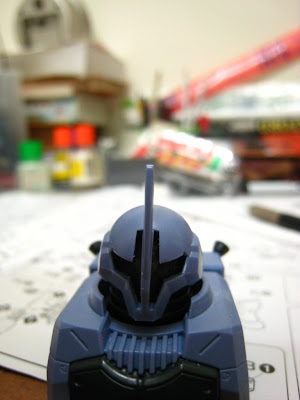
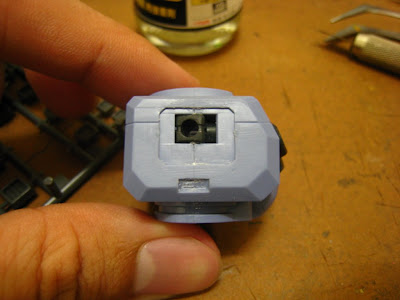
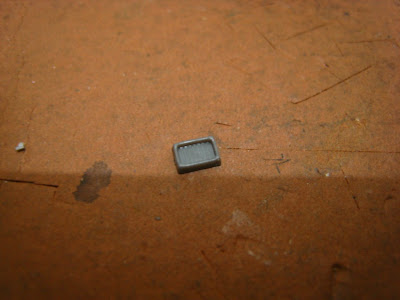
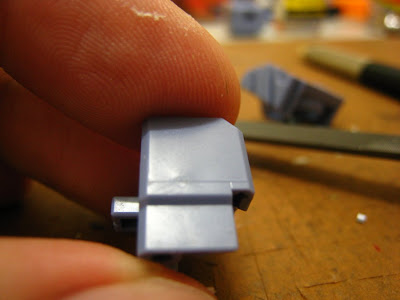
Remember the earlier picture showing back of the hand with a panel line... this is the front part and i choose to cement it and the final product is like below.


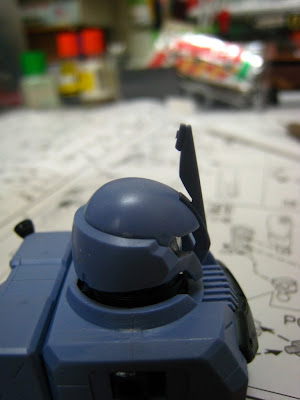
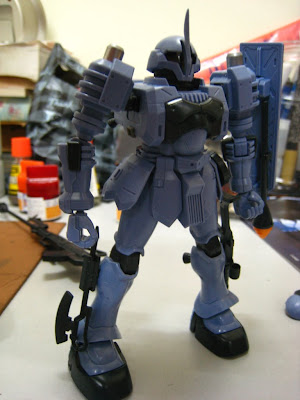
Basically the whole Zudah is complete by now... leaving the touch up with weathering color. I would suggest you go buy the Gundam Weathering Marker to do the dirty job since it is much more easier and it wont damage your kit compare washing it with enamel paint (which i did so and some of my truster break off after doing so).

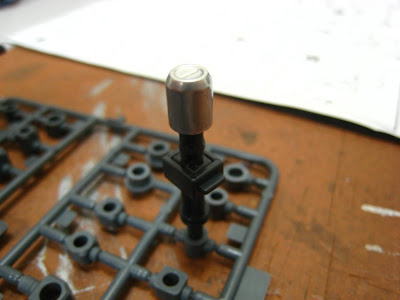
As for the weapon.... used the Burn Steel effect weathering marker to paint on it first then wipe them off with a cloth to create the metalic effect. Sry but i dun have the complete picture here since they are lost.


Apologize again for those ppl tat was following it earlier because most of the picture in the weathering part has been lost.... so thats all i can show. I will snap another picture of my final product sooner today.

Tuesday, August 26, 2008

HGUC Zudah non-AB version – WIP part 4

Ahhh been some time since i post any WIP of my Zudah. Ok this is part 4 and it is near the end of snap fitting. Todays main attraction will be on the Zudah's skirt armor:


As you all can see from the pic below this particular skirt part is connected by a plastic rod, this make the action of the mecha less natural.


This is the reason why i said it makes it less natural, when one side raise the other will follow.


So we cut the darn thing into 2 separate parts like the picture below. Since this are older batch of HGUC kits so they used the plastic rod to connect the 2 side instead of the newer version where there use 2 ball shape typed rod to connect the thing, as a result you need to judge where to cut the rod yourself, just make sure you cut it somewhere near the mid.


Now everything looks better.

After that part we will be moving on to the leg joint part.


From the pictures above, the right one is the original one, while the one of the left is the modded one. There are a few choices to work on this part, you either glue the darn thing with plastic cement or just do it like me (change the seam lines into a much nice looking panel line). As for the nips marks (whithen mark on the surface), we can fix it later with some gundam weathering marker.


Another thing you need to do is sand off those lines (mold form lines) from the leg joint.

Ok that makes the Zudah kit more close to completion. The next WIP will finish the snap fit part of the Zudah and after that will cover on the touch up of the model kit.

Wednesday, August 06, 2008

HGUC Zudah non-AB version – WIP part 3

Now part 3 of Zudah WIP...... really taking more time to post all my work then i have planned... lets start by removing the seam line of the Zudah's head.

The Zudah's Head part is form by 2 black color parts that hold together. Hence we will get those miserable Seams line again. But this time it is only at the neck part only becoz the rest are cover by the head armor.


As usual apply the plastic cement on the two part. Wait till it dried up then remove the extra bits squeeze out.


A bit sanding then everything is nice

Then we go to the shoulder part. What you looking at down there is the shoulder inner frame of Zudah, it has a button on top of it (dunno wat to call it?), and in the animation this part is in Silver color, and since i dun planned to AB this kit, just used those Silver Gundam Marker to take care of it.


Then the armor part of the shoulder, i did some modification on it. Originally you will had your shoulder inner frame clamp in the 2 parts and cant remove it out after you cement it, but after this mod you can slide it in and out, not only does it make it looks better but also better to AB with (that is if you plan to AB it)

place all the parts in it first except for the inner frame part.


Snap the 2 parts together and glue it up, then cut the lower armor part from original hole (the item on the right) the shape of a square (left side).


After that just slot the inner frame into the hole


So now you can plug it in and out easily without opening up the shoulder armor


As usual treatment


OK final result


shot from above

I think this is all for now. WIP part 4 coming up around next week! Then later got some of my new haul to share with you ppl! Long Live Zeon!

Thursday, July 24, 2008

HGUC Zudah non-AB version – WIP part 2

Lets continue on the journey to build Zudah..... lazy and less paint way! All hail to the mighty Zeon mono-eye!!!

The big Jupiter boaster at the backpack does come with some molding line on it! So as usual i will scratch them away but if u dun touch up later u will see those scratches so for those tat dun plan to paint or just scratch build becareful loh!

Sry for the OOF picture... it is really hard to focus but u will notice there is a thin white line there.


Now the head part! We start with the horn part.... they are also other choices for the head part (it come with the normal grunt head and the test type head) but i will choose the commander type! Since with a horn it looks more cool.

This is the original horn before any treatment.

You will notice it is kind of thick and also the extra bits of the horn. So what I did to it is sharpen the horn and cut off that extra stuff. This is how it looks like now:

Much better now!

Now comes the Mono-eye part, Mono eye is the soul of Zeon, although it comes with a sticker but for mono eye i prefer painting them! Why i am so desperate to paint it now not wait till finish the whole kit! The reason is later on i will used plastic cement to glue the Zudah head in order to close the seam line gap, but by doing so i cant remove the eye from it anymore!


This is the Tamiya Acrylic Clear Red, I want to used Mr Hobby one but i just notice tat i dont own any! Anyway dun care wat remember to used Clear Red paint so the Mono Eye can still remain transparent (but in red color of course)


However i did it using the lazy way again, just used a forceps and clip on the mono eye and dip the whole thing into the bottle, then i remove it and leave it for drying before assembling!


Now this is the end result.

This end the second WIP part for Zudah! Next post will be on Figma Kyon instead of Code Geass Vincent becoz i suddenly receive it earlier than i think!

Monday, July 21, 2008

HGUC Zudah non-AB version – WIP part 1

Lately me damn lazy to build model kit! Only manage to finish snap fit my Code Geass Guren Type II 2 days ago.....but tat one need to paint so just leave it aside and wait till i finish AB my Alty 1/100 first. Now start a new one again this one not going to AB just gonna do some lazy OOB with minimum detailing to cover up the flaw!


So my current project is Zeon most favorable MS that failed the test stage for Mass Production....the mono eye tat could have change the fate of Zeon (maybe they could won the war faster if they used it). The mono eye that gonna go berserk if overheat.....HGUC Zudah!!!

This model kit color is 90% accurate as the Anime version, and it belongs to those realistic military like color scheme which really suitable for this lazy method I am going to do. Anyway all things need to start from square one, so I am gonna take you ppl on a walkthrough of my Work In Progress (WIP) Zudah.

As usual we need to snap fit the thing first, and during this process we gonna try to make the Zudah as good looking as the AB or fully painted version, the only problem tat make this method difficult is the seam line (the gap between 2 different parts when snapped together). Since you cant used Putty to cover up the seam lines, you are only left with the choices of using plastic cement.

So for the body part, since it is made by 2 parts, you get to see a really big seam line starting from the neck part all the way down to the lower part of the body. So I used the Mr. Hobby Cement to do the job, apply it on 2 parts then press them together! You may also used a rubber pan to strap them together.


After the whole thing dried up, cut off the extra bits of stuff that was formed when you press the 2 parts together. You will notice the seam line has been remove and the whole thing looks like 1 whole part. I personally left back the seam line in the arm part and just remove the seam lines for the outer area.


As u can see the part that is deepened in still can see the cement and the seam lines....really disgusting and not to my perfectionist standard so get some extra part from MSG Kotobukiya and glue it on to the hole!


Now it looks much better and also safe me all the difficulty in touching up tat area. Ok continue on to the Jupiter Boaster Backpack.

The backpack of Zudah is a combination of 3 parts (excluding the Jupiter Boaster), as we all know when combining 2 parts together there will always be seam line, but seam lines doesnt always need to be remove with Plastic Cement! We can modify it to make it look like a panel line.


For parts like this there will be a very noticeable seam line.


Sometime we dun need to cover up all seam line with Plastic Cement, we can make used of them and turn them into cool looking panel lines. What I did is I scratch the part where my Hobby knife is pointing (both side of the armor). The end product looks like something below:


OK beside Seam lines there are also some other lines than really make the armor part look ugly! These lines are form becoz of the mold itself, when 2 molds join together the gap between will form a thin line of the plastic.


To settle this problem u need to sand them with sand paper or scratch it off with your Hobby Knife! The result will be like the following


The last thing before I did before I end this post is I drill away the 4 button on the armor and added on some of my own Kotobukiya MSG parts on it! The result definitely is better than the original.


Ok next update will be on my newest haul Figma Mikuru, after that will be on my second WIP on Zudah stay tune!