The big Jupiter boaster at the backpack does come with some molding line on it! So as usual i will scratch them away but if u dun touch up later u will see those scratches so for those tat dun plan to paint or just scratch build becareful loh!
Sry for the OOF picture... it is really hard to focus but u will notice there is a thin white line there.
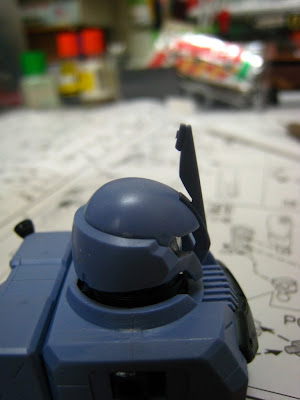
Now the head part! We start with the horn part.... they are also other choices for the head part (it come with the normal grunt head and the test type head) but i will choose the commander type! Since with a horn it looks more cool.
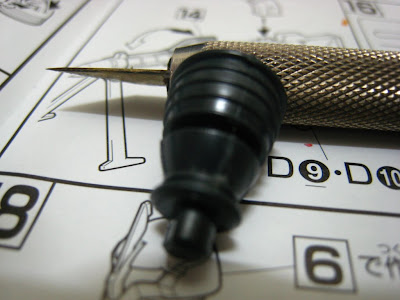
This is the original horn before any treatment.
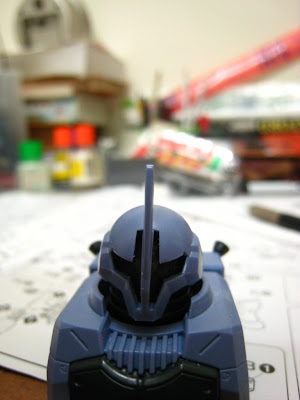
You will notice it is kind of thick and also the extra bits of the horn. So what I did to it is sharpen the horn and cut off that extra stuff. This is how it looks like now:
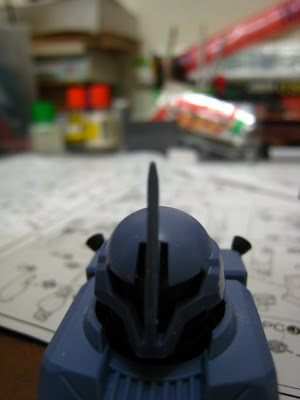

Much better now!
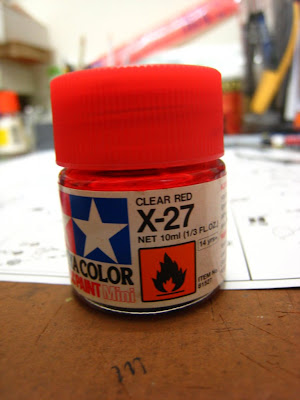
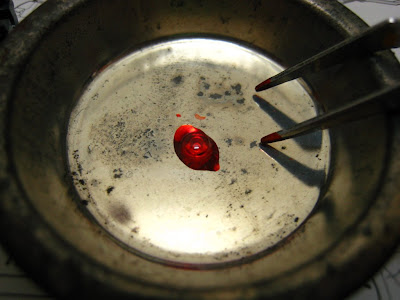
Now comes the Mono-eye part, Mono eye is the soul of Zeon, although it comes with a sticker but for mono eye i prefer painting them! Why i am so desperate to paint it now not wait till finish the whole kit! The reason is later on i will used plastic cement to glue the Zudah head in order to close the seam line gap, but by doing so i cant remove the eye from it anymore!
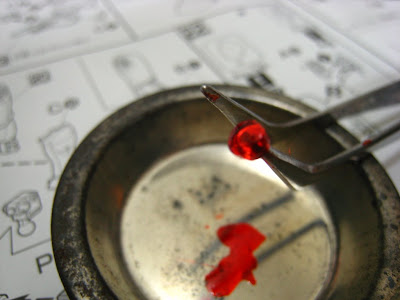
Now this is the end result.
This end the second WIP part for Zudah! Next post will be on Figma Kyon instead of Code Geass Vincent becoz i suddenly receive it earlier than i think!
No comments:
Post a Comment